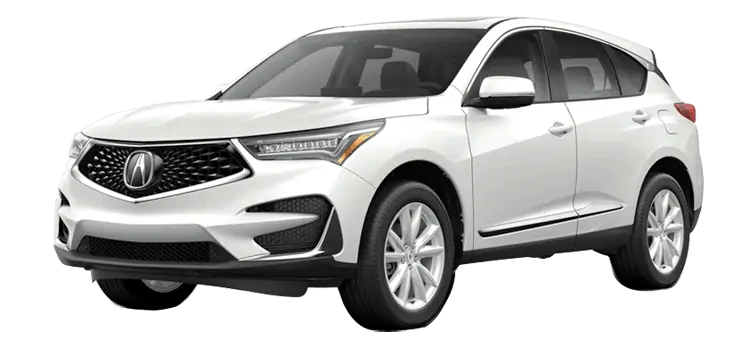
NHTSA ID Number: 10185520
Manufacturer Communication Number: B21-003
Summary
Service Bulletin – While driving over rough roads or bumps, you hear a rattling or clicking from the panoramic glass roof.
1 Affected Product
Vehicle
| MAKE | MODEL | YEAR |
| ACURA | RDX | 2019 |
SYMPTOM
While driving over rough roads or bumps, you hear a rattling or clicking from the panoramic glass roof.
POSSIBLE CAUSE
There is not enough clearance between the rear panoramic glass roof mechanism arm and the plastic curve on slider.
CORRECTIVE ACTION
Increase the clearance between the curve on slider and the mechanism arm by bending the arm. If this does not fix the issue, replace the panoramic glass roof frame.
PARTS INFORMATION
For Repair Procedure A
| Part Name | Quantity | Part Number |
| Bolt (Glass) | 12 | 70229-TJB-A01 |
|
| ||
For Repair Procedure B
| Part Name | Quantity | Part Number |
| Frame Assy, Sunroof | 1 | 70100-TJB-A02 |
| A-Pillar Trim Clip | 2 | 91561-T8N-T01 |
| Quarter Pillar Trim Clip | 2 | 91561-TA5-A11 |
| Bolt (Glass) | 12 | 70229-TJB-A01 |
|
| ||
INSPECTION PROCEDURE
- Drive the vehicle with the panoramic front glass closed. Check if the rattling or clicking is coming from the back corners of the front glass.
- If the noise is coming from this area, go to REPAIR PROCEDURE A.
- If the noise is not coming from this area, this bulletin does not apply. Continue with normal system troubleshooting.
REPAIR PROCEDURE A
- Remove the front glass. See the service information.
NOTE
You will need to slightly open the glass to access the bolts.
- Locate the mechanism arm, as shown below, on the side where you heard the noise. Then, lightly wiggle the rear portion of that arm enough so it contacts the curve on slider. Do this on both sides of the panoramic glass roof.
- If you hear a clicking from that area, go to step 4.
- If you do not hear a clicking from that area, continue with normal system troubleshooting
- Move the panoramic roof switch to the full tilt position, and check the gap between the curve on slider and the mechanism bracket. Record the gap as a starting point.
- Use flat nose pliers to grip the mechanism arm and the metal lip of the panoramic roof frame. Use a screwdriver to peel back the seal on the panoramic roof.
NOTES
- Apply tape to the contact surface of the pliers as shown. This will prevent scratching of the panoramic roof frame.
- Use the radius in the mechanism arm as a reference point. Grip the mechanism arm and the panoramic roof frame lip right where the bend in the mechanism arm ends.
- After properly inserting the pliers, squeeze them to bend the arm away from the center of the vehicle. Make sure the gap measured in step 4 is increased by 1 to 2 mm.
- Measure the gap again as shown in step 6 to verify the change in the gap.
- Install the panoramic glass using the original bolts, and test-drive the vehicle with the panoramic roof closed. Make sure the rattling or clicking is gone.
- If the noise is gone, the procedure is complete. Replace the original panoramic roof glass bolts with the new bolts.
- If you still hear the noise, go to REPAIR PROCEDURE B – REPLACE PANORAMIC GLASS ROOF for replacement of the panoramic roof frame.
REPAIR PROCEDURE B – REPLACE PANORAMIC GLASS ROOF
The following procedures have been used in full or in part within this service bulletin. For more detail on them, and torque specifications for some components, refer to the exploded views in the service information.
| Step | Component | Exploded View Location | Service Manual Letter Reference |
| 1 | Sunvisors |
Headliner Area (Image #1) | C |
| 2 | Front Individual Map Light /Roof Module | A,B | |
| 3 | Sunvisor Holders | E | |
| 4 | Grab Handles | F | |
| 5 | Rear Roof Trim | I |
| Step | Component |
Exploded View Location | Service Manual Letter Reference |
| 6 | Camera Cover | Windshield Area | B,C |
| Step | Component | Exploded View Location | Service Manual Letter Reference |
| 7 | Cargo Floor Lid | Interior Trim Area
(Image #2) | O |
| 8 | Tie Down Hooks | M | |
| 9 | Right and Left Load Floor Strip | N | |
| 10 | Rear Trim Panel | R |
| Step | Component | Exploded View Location | Service Manual Letter Reference |
| 11 | Front Door Opening Seal (as needed) | Interior Trim Area
(Image #1) |
C |
| 12 | Rear Door Opening Seal (as needed) |
H | |
| 13 | A-Pillar Trim | A | |
| 14 | Rear Door Sill Trim | G | |
| 15 | B-Pillar Upper Trim
NOTE | J | |
| 16 | B-Pillar Lower Trim | F |
NOTE
Do steps 11 thru 16 for both sides.
| Step | Component | Exploded View Location | Service Manual Letter Reference |
| 17 | Rear Side Trim Panels | Interior Trim Area (Image #2) | U |
| 18 | Quarter Pillar Trims | W |
NOTE
Do steps 17 and 18 for both sides.
| Step | Component | Exploded View Location | Service Manual Letter Reference |
| 19 | Rear Side Trim Panel Bracket | Interior Trim Area | Not Available |
| Step | Component | Exploded View Location | Service Manual Letter Reference |
|
20 | Headliner Area (Image #1) |
J |
NOTE
To remove the headliner from the vehicle without damage, the right rear damper gusset must be removed. To do this, roll the vehicle onto a lift or jack up the right rear of the vehicle and place it on safety stands. Refer to the service information for more information.
| Step | Component | Exploded View Location | Service Manual Letter Reference |
| 21 | Panoramic Glass Roof Frame | Panoramic Glass Roof Area | E |
- Transfer the wind deflector, panoramic glass roof motors, sunshade, front and rear glass, and hoses to the new frame. Refer to the service information for more information.
- Install all components in the reverse order of removal, and follow all bolt torque specifications in the service information.
– Replace these must-replace parts according to the service information:
- A-Pillar Trim Clips
- Quarter Pillar Trim Clips
- Panoramic Glass Bolts
– Do the Panoramic Glass Roof Motor-Control Unit Resetting Procedure and Panoramic Glass Roof Glass Position Adjustment. See the service information.
END
SEOCONTENT-START
Service Bulletin
21-003
January 06, 2021
Version 1
Rattling or Clicking from the Panoramic Glass Roof
AFFECTED VEHICLES
| Year | Model | Trim Level | VIN Range |
| 2019 | RDX | AWD | 5J8TC2***KL000001 to 5J8TC2***KL043969 |
| 2019 | RDX | 2WD | 5J8TC1***KL000001 to 5J8TC1***KL025375 |
WARRANTY CLAIM INFORMATION
| Operation Number | Description | Flat Rate Time | Defect Code | Symptom Code | Template ID | Failed Part Number |
| 8143A2 | Adjust the panoramic glass mechanism arm
(right or left). |
1.2 hr | 03214 | 03217 | B21003A | 70100-TJB-A02 |
| 8143A3 | Adjust the panoramic glass mechanism arm (both sides). | 1.3 hr | 03214 | 03217 | B21003B | 70100-TJB-A02 |
| 8143A4 | Adjust the panoramic glass mechanism arm. Replace the panoramic glass roof frame. | 4.4 hr | 03214 | 03217 | B21003C | 70100-TJB-A02 |
Skill Level: Repair Technician
SEOCONTENT-END
1 Associated Document
Manufacturer Communications
B21-003
January 06, 2021
Version 1
MC-10185520-0001.pdf 1825.777KB
![WD-40 Specialist® White Lithium Grease, New Bigger Can, 13.3 OZ [1-Pack]](https://m.media-amazon.com/images/I/41c233OiEDL.jpg "2019 Acura RDX Rattling or Clicking from the Panoramic Glass Roof 2")
- HEAVY-DUTY LUBRICATION & CORROSION PROTECTION: White lithium grease spray is ideal for metal-to-metal applications that require rust protection.
- LONG-LASTING FORMULA: Provides long lasting protection capable of performing under extreme pressures.
- SPRAYS ON EVENLY: Spray a thick, protective coating on equipment before placing in storage, including sprockets, latches, pulleys, cables and guide rails.
- VERSATILE APPLICATIONS: Industrial-strength solution won't melt, freeze, or run off, with a working temperature range of 0F to 300F.
- SMART STRAW: Permanently attached Smart Straw Sprays 2 Ways to get the precise application or broad coverage when and where you need it.

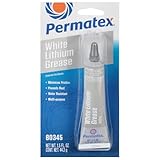
- All-purpose white lubricant for metal-to-metal and metal-to-plastic applications
- Withstands moisture and high heat
- Protects against rust and makes surfaces friction-free
- Stainless and non-toxic
- Suggested Applications: Door hinges, hood latches, trunk latches, hatchback struts, seat tracks, garage door and delivery truck door tracks

- Superior Metal-to-Metal Lubrication: White lithium grease effectively reduces friction and ensures smooth operation. Lithium grease is ideal for hinges, gears, bearings, chains, and other metal components.
- Rust Prevention & Long-Lasting Protection: White lithium grease provides a strong, moisture-resistant barrier that protects against rust, corrosion, and oxidation. even in challenging environments, extending the life of your equipment. A lithium grease you can trust.
- Multipurpose & Versatile Use: Perfect for automotive, marine, industrial, and home applications. Whether you're lubricating door hinges, garage doors, machinery, chainsaws, lawnmowers, outdoor equipment, or bike chains, this garage door lubricant is up for the task.
- Waterproof & Heat Resistant: Designed for outdoor and high-humidity conditions, this white lithium grease resists rain, moisture, and harsh environments. The bearing grease stays effective in temperatures from -12°C to 200°C, ensuring long-lasting lubrication and reliable performance.
- Customer Service Guaranteed: If you are not satisfied with our white lithium grease, please contact us in your free time. You will get our sincere and positive response. Our job is to ensure that our customers are satisfied with their shopping.
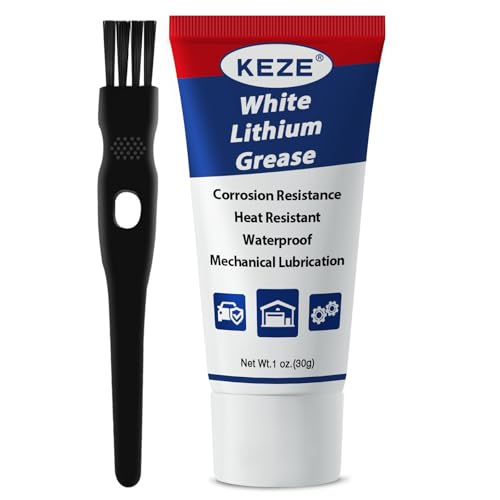
- Reduces Noise & Wear for Metal-to-Metal: Eliminates squeaks and grinding in metal/plastic parts. Provides long-lasting lubrication for garage doors, hinges, bearings, gears, chains and automotive components.
- Protects Against Rust & Corrosion: The bearing grease creates a waterproof barrier that blocks moisture in humid or marine environments. Ideal for outdoor tools, car parts, and marine equipment.
- Withstands Extreme Temperatures: Stable performance from -4°F to 392°F. Resists summer heat and winter cold without washing out or degrading.
- No-Mess Precision Application: Includes brush for clean, targeted use. Thick formula clings to surfaces without dripping – ideal for hard-to-reach areas.
- All-Purpose Lubricant: Works on household, automotive, and workshop items – from bike parts, chainsaws, outdoor equipment and lawnmowers to sliding doors and power tools.

- HEAVY-DUTY WHITE LITHIUM GREASE – Delivers long-lasting lubrication for moving metal parts by forming a protective barrier that reduces friction and wear.
- STAYS PUT & WON'T RUN – The lithium grease spray features a clean, low-odor formula that clings to surfaces without running, helping protect hinges, gears, and metal-to-metal connections where consistent lubrication is critical.
- PROTECTS AGAINST MOISTURE & RUST – Creates a durable coating that helps guard against moisture and corrosion, making it a reliable all weather lubricant for indoor and outdoor use.
- IDEAL FOR HINGES, BEARINGS, & METAL COMPONENTS – Commonly used as a hinge lubricant and bearing grease on doors, auto hinges, trailer hitch componenets, latches, bearings, chains, pulleys, and rollers.
- WORK IT LIKE A PRO – Built for dependable performance, 50-state VOC compliant, and trusted by professionals and DIYers alike to handle real-world jobs with confidence.
This product presentation was made with AAWP plugin.